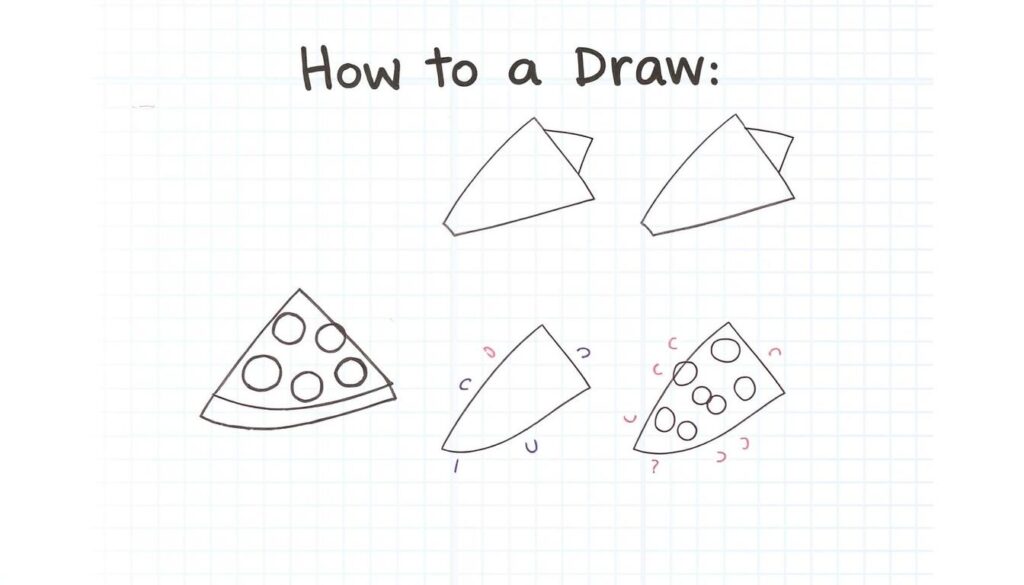
Want to improve your art skills by making a pizza drawing? This guide shows you how to do it in three easy steps. It’s perfect for anyone, whether you’re starting out or just want a fun project. Drawing a pizza can be both fun and rewarding.
Pizza drawing is more than just drawing food. It’s about capturing texture, depth, and the appeal of your favorite dish. With some basic techniques and practice, you can make pizza artwork that looks like it’s ready to eat.
Key Takeaways
- Learn pizza drawing techniques in just three simple steps
- Develop skills in creating food-related artwork
- Understand basic drawing principles through pizza illustration
- Improve artistic confidence with an achievable project
- Explore creative ways to represent food in art
Essential Art Supplies for Your Pizza Drawing
To make a great pizza drawing, you need the right art supplies. Whether you’re new or experienced, the right tools can really improve your work.
Start your pizza drawing journey by knowing the essential tools. These will help you create a delicious-looking pizza illustration.
Paper Types and Drawing Tools
Choosing the right paper is key for your pizza drawing. Each paper has its own texture and detail-capturing abilities.
- Smooth Bristol board for precise line work
- Textured sketch paper for organic details
- Heavyweight drawing paper (90-140 lb weight)
For drawing tools, consider these options:
| Tool Type | Recommended Brands | Best For |
|---|---|---|
| Graphite Pencils | Faber-Castell | Initial sketching and outlines |
| Fine-line Pens | Micron | Detailed line work |
| Mechanical Pencils | Staedtler | Consistent line thickness |
Coloring Materials for Pizza Details
Make your pizza drawing pop with vibrant colors. Use materials that show off the pizza’s delicious textures and colors.
- Colored pencils for soft, blendable tones
- Markers for bold, saturated colors
- Watercolor sets for translucent effects
Additional Supplies for Enhancement
Take your pizza drawing to the next level with these tools:
- Kneaded erasers for subtle corrections
- Blending stumps for smooth shading
- White gel pens for highlights
- Fixative spray to preserve your artwork
Investing in quality art supplies will help you create a stunning pizza drawing. It’ll look so good, you’ll want to eat it!
Understanding Basic Pizza Shapes and Proportions
Learning to draw pizza starts with basic shapes. You break down the pizza into simple forms for a realistic look. The secret to a great pizza drawing is knowing the basic shapes and keeping the right proportions.
When drawing a pizza, focus on these main shapes:
- Circle for the pizza base
- Triangles for pizza slices
- Irregular shapes for toppings
- Curved lines for crust details
Perspective is key to a believable pizza drawing. Think about the angle you’re viewing from. A straight-on view is classic, but a slight angle adds depth.
To get the proportions right, try these steps:
- Begin with a light sketch of the main circle
- Divide the circle into equal slice segments
- Adjust the crust thickness proportionally
- Scale toppings to match the pizza’s size
Pro tip: Use a compass or circular object as a guide to create a perfect pizza base when practicing your pizza drawing skills. Remember, practice and observation are crucial for improving your art.
Step-by-Step Pizza Drawing Guide
Creating a realistic pizza drawing takes patience and practice. Artists and sketch enthusiasts can turn a blank page into a delicious-looking artwork. Follow a systematic approach to master the techniques of pizza drawing.
Understanding basic shapes and developing your artistic technique are key. Breaking down the process into manageable steps helps. This way, you can create a mouth-watering illustration that looks surprisingly realistic.
Creating the Perfect Circle Base
The foundation of any pizza drawing starts with a perfect circular shape. Use these techniques to create an accurate base:
- Trace a circular object like a plate or compass
- Practice freehand drawing using light pencil strokes
- Focus on maintaining smooth, consistent curves
Adding Crust Details
Transform your basic circle into a realistic pizza by adding intricate crust details. Consider these drawing tips:
- Create uneven edges to simulate a hand-tossed appearance
- Use varied pencil pressures for texture
- Add subtle shadowing around the crust’s edge
Drawing Toppings and Texture
Bring your pizza drawing to life by carefully rendering toppings and surface texture. Experiment with different techniques to achieve depth and realism:
| Topping Type | Drawing Technique |
|---|---|
| Cheese | Use light, overlapping circular strokes |
| Pepperoni | Create small, slightly irregular circles |
| Vegetables | Sketch varied shapes with irregular edges |
Each pizza drawing is unique, reflecting your personal artistic style. Practice regularly to develop your skills. Create increasingly detailed and appetizing illustrations.
Pizza Drawing Techniques for Beginners
Starting your pizza drawing journey can feel challenging, but with the right techniques, you’ll quickly gain confidence in your artistic skills. Beginners often worry about creating a realistic pizza drawing, but breaking down the process into simple steps makes it much easier.
To improve your pizza drawing skills, focus on mastering these fundamental techniques:
- Start with basic geometric shapes
- Practice light sketching
- Develop consistent line control
- Observe real pizza references
Understanding proportion is crucial in pizza drawing. Begin by creating a light circular outline that represents the pizza base. Use gentle, loose pencil strokes to capture the initial shape without pressing too hard.
| Technique | Difficulty Level | Practice Time |
|---|---|---|
| Basic Circle Sketching | Beginner | 15-20 minutes |
| Texture Development | Intermediate | 30-45 minutes |
| Detailed Topping Rendering | Advanced | 1-2 hours |
When learning pizza drawing, don’t get discouraged by initial attempts. Every sketch is a learning opportunity. Focus on capturing the essential shapes and gradually add more details as you become more comfortable with your drawing technique.
Practice is key in developing your pizza drawing skills. Sketch multiple pizzas from different angles, experiment with various toppings, and observe the unique characteristics of real pizzas to improve your artistic representation.
Adding Realistic Texture and Shadows
To make a pizza drawing look real, you need to master texture and shadow. By learning key techniques, your drawing can go from flat to full of life. This adds depth and makes it look more realistic.
Professional artists know that pizza drawing is more than just lines. It’s about the small details that make a pizza look delicious.
Shading Methods for Dimension
Shading is key to making a pizza drawing look three-dimensional. Here are some important methods:
- Cross-hatching for cheese texture
- Graduated shading for crust depth
- Stippling to create pepperoni surface variations
Creating Depth with Highlights
Highlights can make your pizza drawing stand out. Here’s how to add visual interest:
- Identify light source direction
- Apply white or light-colored highlights
- Create subtle reflections on toppings
Texture Techniques for Toppings
Each pizza topping needs a special way to show its texture:
| Topping | Texture Technique |
|---|---|
| Cheese | Soft, wavy lines with varying pressure |
| Pepperoni | Circular shading with slight edge variations |
| Mushrooms | Irregular shapes with subtle shadow gradients |
Try out these techniques to take your pizza drawing to the next level. Remember, practice makes perfect!
Common Mistakes to Avoid in Pizza Drawing
Mastering pizza drawing takes practice and knowing common mistakes. Many artists find it hard to draw realistic and appealing pizzas. Knowing these mistakes can help you improve your skills and make your drawings more engaging.
Artists often face several challenges when drawing pizzas. These can affect the quality of their work:
- Incorrect circle proportions that make the pizza look unrealistic
- Unbalanced topping placement
- Lack of depth and texture
- Inconsistent shading techniques
Proportions are key in pizza drawing. Your pizza base should look natural and symmetrical. Beginners often make the mistake of drawing a perfect circle, which looks fake. Try sketching slightly irregular circles for a more authentic look.
When placing toppings, think carefully. Don’t scatter them randomly. Instead, consider how toppings naturally spread out on a pizza. Here are some tips:
- Create varying sizes of toppings
- Overlap ingredients for realistic depth
- Consider cheese melting patterns
- Use subtle color variations
Shading can make your pizza drawing look more appealing. Practice by observing real pizzas and how light affects them. Focus on creating subtle gradients to show volume and warmth.
Every pizza drawing is a chance to learn and grow. See mistakes as opportunities to get better and find your own style.
Tips for Adding Color to Your Pizza Artwork
To make your pizza drawing pop, pick colors carefully and apply them well. Color turns a simple sketch into a tasty-looking artwork. It shows the beauty of a delicious pizza. Whether you’re new or skilled, learning color techniques can make your pizza drawing better.
Color Selection Guide
Choosing the right colors is key for a realistic pizza drawing. Think about the natural colors of pizza ingredients:
- Crust: Warm browns from light tan to deep golden
- Cheese: Creamy whites and pale yellows
- Sauce: Rich reds and deep maroon tones
- Toppings: Colors that match real ingredients
Blending Techniques
Smooth color changes make your pizza drawing look pro. Use these blending methods for depth and texture:
- Layered color application
- Soft gradient techniques
- Colored pencil overlapping
Final Touches and Details
The secret to a great pizza drawing is in the small details. Add highlights, shadows, and subtle color changes for a realistic look.
| Technique | Purpose | Effect |
|---|---|---|
| Highlights | Create shine on cheese | Adds dimension |
| Shadows | Define depth | Increases realism |
| Color Variations | Simulate texture | Enhances visual interest |
Remember, practice is key in your pizza drawing journey. Try different colors, techniques, and styles. This way, you’ll create a pizza illustration that’s both tasty-looking and unique.
Creative Pizza Drawing Variations

Take your pizza drawing to the next level by trying new and exciting ways to draw it. What was once just a simple sketch can become a vibrant piece of art that shows off your creativity.
Find new ways to draw pizzas that will push you to think outside the box:
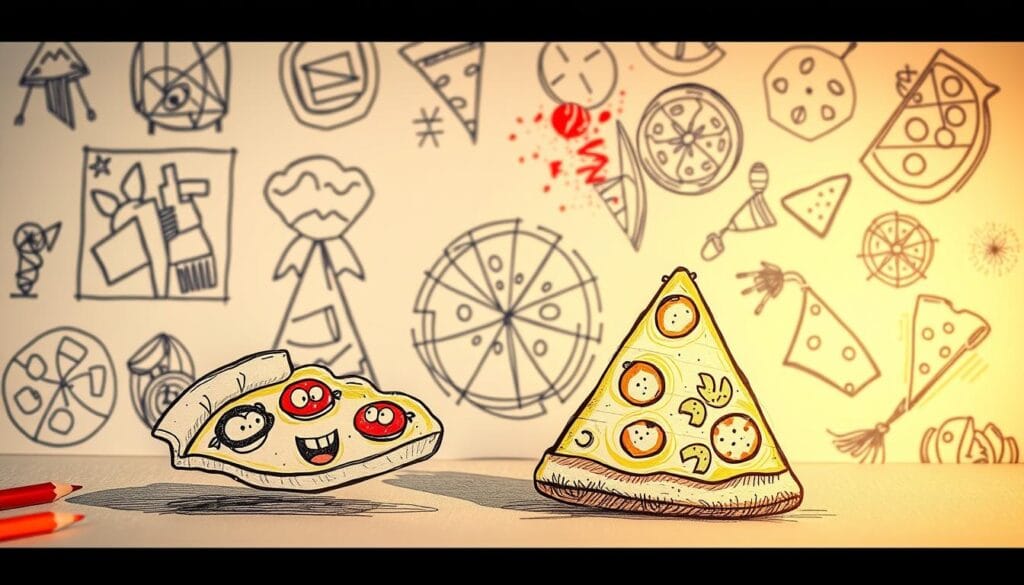
- Cartoon-style pizza drawings with exaggerated features
- Abstract pizza art using geometric shapes
- Surreal pizza compositions blending food with unexpected elements
- Minimalist pizza sketches focusing on essential lines
Every pizza drawing style gives you a fresh view of this favorite food. Experimental techniques can turn a basic pizza drawing into a stunning piece that tells its own story.
| Drawing Style | Key Characteristics | Artistic Challenge |
|---|---|---|
| Cartoon Pizza | Playful, exaggerated proportions | Capturing humor and personality |
| Abstract Pizza | Geometric shapes, color blocks | Representing essence without realism |
| Surreal Pizza | Unexpected contexts, dreamlike quality | Breaking traditional visual boundaries |
Your journey in drawing pizzas can be a fun adventure of discovery. Try out different styles and techniques to create your own unique way of seeing the world through art.
Digital Tools for Pizza Drawing
Digital drawing has changed how artists make pizza art. Now, both pros and hobbyists use software like Adobe Photoshop and Procreate. These tools let them create detailed, colorful pizza pictures with layers and precise colors.
For starting your digital pizza drawing, think about using tablets like the iPad Pro or Wacom Intuos. These tablets offer smooth drawing and mimic traditional art. Most apps have special brushes for realistic pizza textures and details.
Learning digital pizza drawing takes time and effort. Look for free tutorials on YouTube and Skillshare. Start with simple exercises and get better with practice.
When picking digital drawing tools, think about the cost. While top software can be pricey, Krita and Medibang Paint are free. Learn your software well, try different brushes, and find your style.
FAQ
What basic supplies do I need to start drawing a pizza?
To start drawing a pizza, you’ll need drawing paper, pencils, erasers, and colored pencils or markers. You might also want blending tools. A quality sketch pad and drawing pencils are key for your pizza artwork.
How do I draw a perfect circle for the pizza base?
To draw a perfect circle, use a compass or trace around a circular object. If freehanding, start with intersecting lines for a center point. Then, draw your circle with light strokes. Remember, practice makes perfect for a symmetrical pizza base.
What are some common mistakes beginners make when drawing pizzas?
Common mistakes include wrong proportions and uneven crusts. Struggling with perspective and topping placement are also common. Pressing too hard and poor texture and shadowing are other issues.
Can I create a pizza drawing using digital tools?
Yes, you can! Digital tools like Adobe Photoshop and Procreate are great for pizza drawings. They let you play with colors, layers, and textures easily.
How can I make my pizza drawing look more realistic?
To make your pizza look real, focus on texture and shading. Use different pencil strokes for cheese and add shadows under toppings. Highlight and shadow well, and blend for depth.
What are some creative variations I can try with pizza drawings?
Try cartoon pizzas, abstract art, or themed drawings. You could draw a pizza with unique toppings or in a specific style. Even add it to a bigger scene.
How long does it take to become good at drawing pizzas?
Improvement takes time and practice. You’ll see big changes in a few weeks or months. Start simple and add details as you get better. Every drawing is a step forward.


