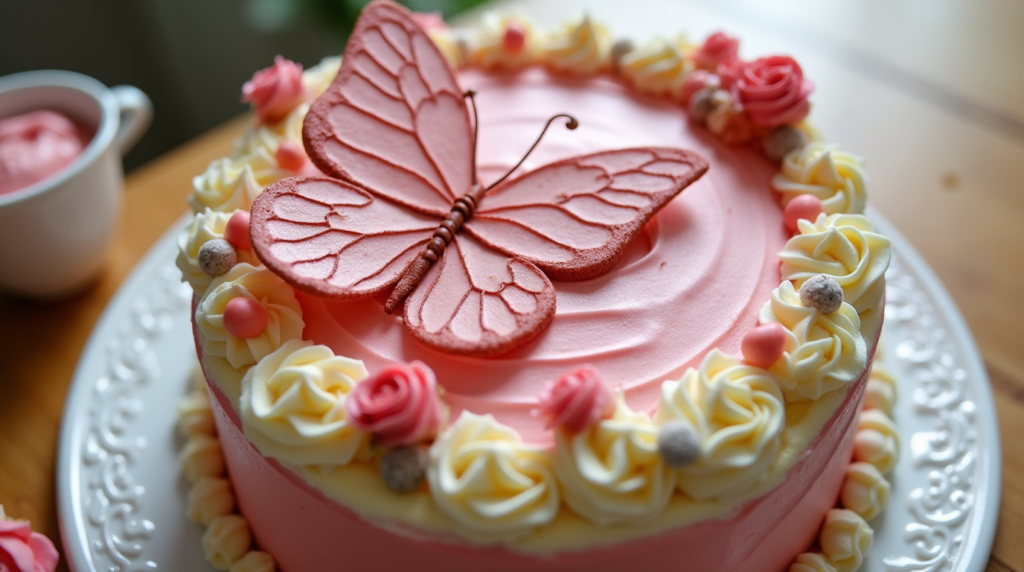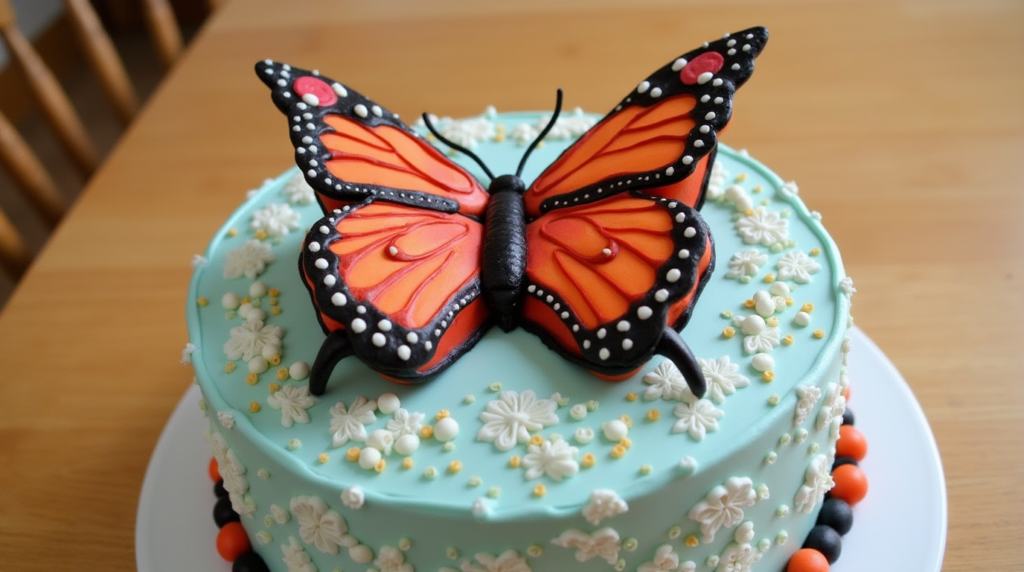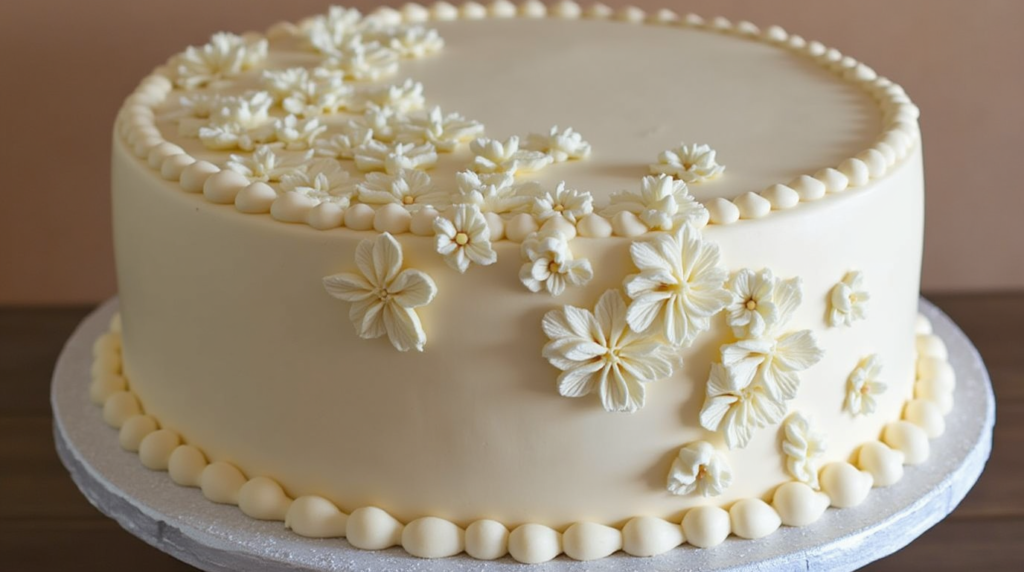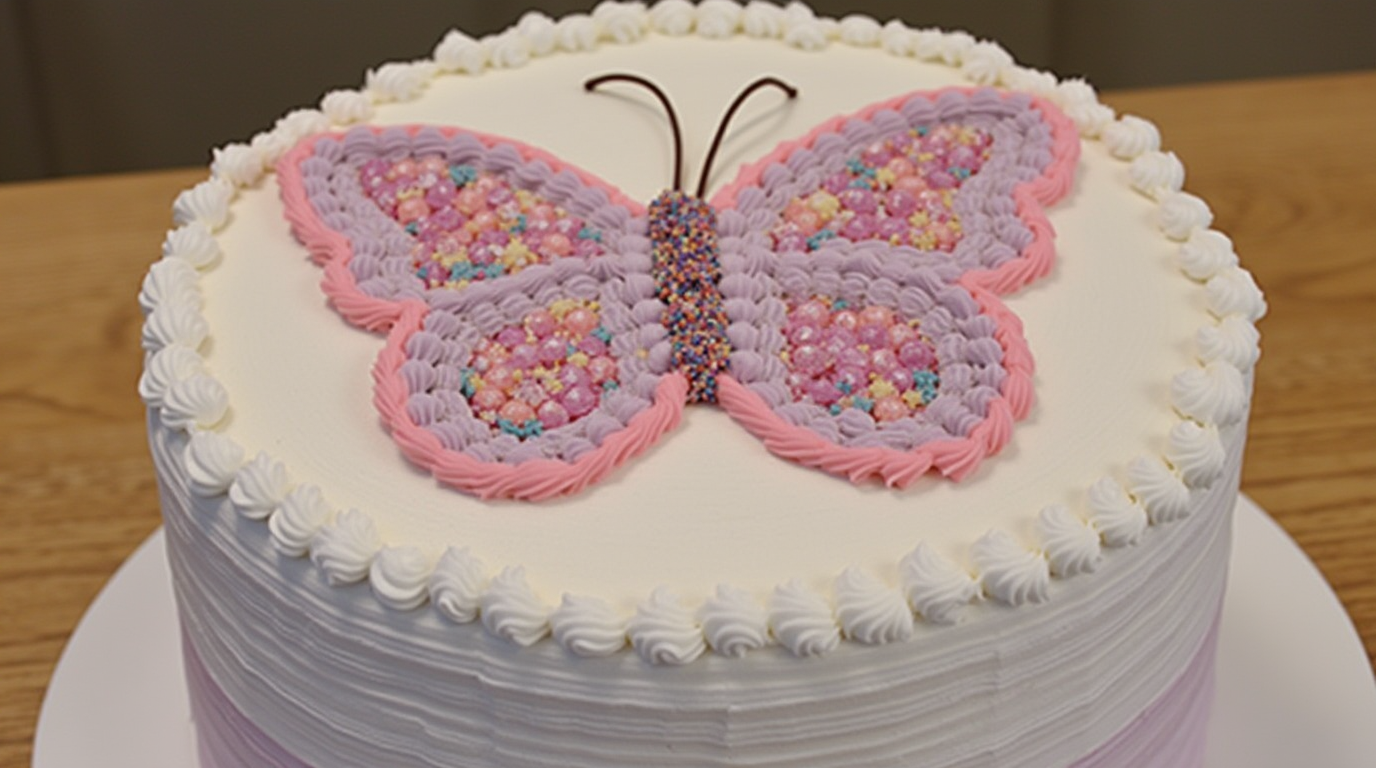
They’re delightful works of art that capture the magic of nature. These cakes can transform any occasion into a memorable one. With the right guidance, crafting a butterfly cake can be an enjoyable and achievable project—even if you’re new to baking! This article will take you step-by-step through everything you need to make a butterfly cake that’s both beautiful and delicious. Ready to create something magical? Let’s dive in!
Step 1: Gather Your Ingredients and Tools
Essential Ingredients for the Butterfly Cake
To start, it’s essential to have fresh ingredients to ensure your cake is soft, flavorful, and stable. Here’s a list of what you’ll need:
| Ingredients | Amount |
|---|---|
| All-purpose flour | 2 cups |
| Granulated sugar | 1 ½ cups |
| Baking powder | 2 tsp |
| Unsalted butter | 1 cup |
| Eggs | 4 |
| Milk | 1 cup |
| Vanilla extract | 1 tsp |
| Food coloring (variety) | As needed |
| Buttercream frosting | 2 cups |
| Edible glitter or sprinkles | Optional |
Consider using natural food coloring for vibrant, true-to-life wing colors, and remember to add any decorations you’d like!
Tools You’ll Need
You don’t need fancy equipment to make a butterfly cake, but some basic tools will make the process easier and your cake will look professional:
- Butterfly cake mold (or a regular pan if you’ll be cutting the shape manually)
- Piping bags and tips for decorating
- Offset spatula
- Toothpicks for applying small decorations
- A sharp knife for precise cuts if shaping manually

Step 2: Bake the Cake to Perfection
Choosing Your Cake Flavor
When it comes to flavors, keep in mind that the best cake is one that complements its beautiful exterior. Vanilla, chocolate, and lemon are all classic choices that pair well with vibrant decorations and buttercream frosting.
Baking Tips for a Fluffy, Stable Cake
Achieving a fluffy yet stable cake requires careful attention to ingredients and baking times. Here’s how:
- Use Room-Temperature Ingredients: Cold ingredients don’t mix as well, which can result in uneven texture.
- Mix Gently: Overmixing can make your cake dense, so stir just until the ingredients are combined.
- Bake at the Right Temperature: Set your oven to 350°F (175°C) and avoid opening the door too often. Check your cake’s doneness by inserting a toothpick—it should come out clean.
Allow the cake to cool fully before moving on to decorating, as this prevents melting and helps the cake hold its shape better.
Step 3: Shape Your Butterfly Cake
If you don’t have a butterfly mold, don’t worry—you can create a butterfly shape with a little care and creativity.
Cutting and Arranging the Cake
- Prepare the Base: If you baked in a standard rectangular or round pan, start by slicing the cake in half horizontally if needed, creating two flat surfaces.
- Shape the Wings: Use a sharp knife to cut out the wings from each half of the cake, following a basic butterfly shape. For a symmetrical look, cut the wings while the two halves are stacked.
Tips for Assembling
Use a layer of buttercream frosting to “glue” parts of the cake together, especially around the wings. A thin layer will be enough to add stability without overpowering the cake’s design.
Step 4: Decorate the Butterfly Cake
This is where your butterfly cake comes to life! Adding intricate patterns, colors, and sparkles makes all the difference.
Creating Wing Patterns with Frosting
- Plan Your Design: Visualize the butterfly’s wing pattern before starting. You might want symmetrical color blocks, dots, or intricate piping designs.
- Add Colors Gradually: Separate the frosting into bowls and mix each with a different color. Use piping bags with fine tips for detailed designs, and start with the primary wing sections before adding details.
- Create Texture: Experiment with different piping tips to create textures like rosettes, ruffles, or dots.

Adding Finishing Touches
Finish your butterfly masterpiece with edible glitter, sprinkles, or pearls to give it a touch of sparkle. Toothpicks help place small decorations precisely.
Step 5: Present and Serve Your Butterfly Cake
Tips for Presentation
Place your cake on a cake stand or a large plate, and consider adding flower accents or greenery around the base to create a garden theme. Photographing your cake from various angles will also help capture its beauty before it’s cut and served.
Serving the Cake
To maintain the butterfly’s shape, start cutting from the wings’ edges inward. Small slices will ensure that everyone gets a taste of the beautifully decorated sections.
FAQ Section
Q1: Can I make a butterfly cake without a special pan?
- Absolutely! Use a standard pan and cut the cake into a butterfly shape manually.
Q2: What’s the best way to keep the frosting colors vibrant?
- Gel-based food colorings provide richer hues that stay vibrant without watering down the frosting.
Q3: How far in advance can I prepare a butterfly cake?
- The cake can be baked a day before. Store it in an airtight container, then frost and decorate it on the day of the event for the freshest look.
Conclusion
With these five steps, you now have everything you need to create a butterfly cake that’s both delightful and delicious. Whether it’s your first attempt or you’re a seasoned baker, the joy of crafting something so beautiful is rewarding in itself. Don’t be afraid to get creative with colors and patterns—each cake is a unique reflection of your style. Ready to impress your guests with your baking skills? Go ahead and start crafting your butterfly cake, and let your imagination soar!
Call to Action: Share your butterfly cake creation with friends and family, and don’t forget to take a picture before it’s devoured!


